Introduction: How to Right Angle BNC Kicad
BNC connectors are the unsung heroes of electronic projects. These little components play a crucial role in transmitting signals with precision and reliability, making them vital for everything from audio equipment to video devices and testing instruments. But have you ever considered how the design of these connectors can impact your project?
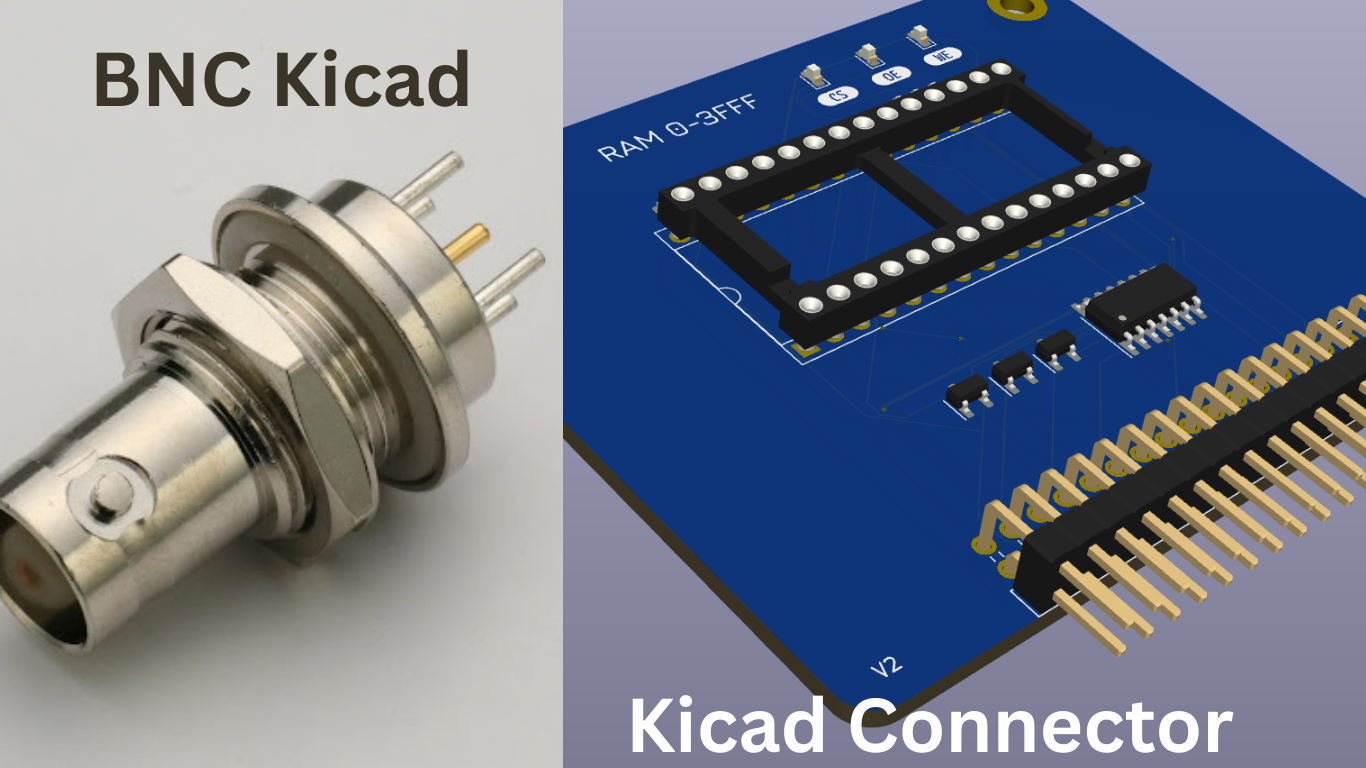
If you’re diving into PCB design using KiCad, learning how to right angle bnc kicad connector can elevate your designs significantly. This tutorial will walk you through the intricacies of designing this essential component while maximizing efficiency and performance. Whether you’re a seasoned engineer or just starting on your electronics journey, mastering BNC connector design is an invaluable skill that will enhance your creations. Let’s get started!
Overview of Kicad Software and its Features
KiCad is an open-source software suite designed for electronic design automation (EDA). It’s popular among hobbyists and professionals alike due to its rich feature set and flexibility.
The interface is user-friendly, making it accessible for newcomers while still offering advanced options for experienced users. It supports schematic capture, PCB layout, and 3D visualization, enhancing the overall design experience.
One standout feature is the ability to create custom components easily. Users can build their libraries tailored specifically to their projects. Additionally, how to right angle bnc kicad allows integration with various plugins that extend functionality.
Version control is another highlight; designers can keep track of changes over time seamlessly. This ensures that revisions are manageable and collaborative efforts are streamlined.
With regular updates and a supportive community forum, KiCad continues to evolve, catering to the needs of users worldwide looking for innovative solutions in their electronic designs.
Step-by-Step Guide to Designing a Right Angle BNC Connector in Kicad
To start designing how to right angle bnc kicad connector, open the software and create a new project. Begin by setting up your schematic sheet to keep everything organized.
Next, search for the BNC connector component in the library. If you can’t find it, consider creating a custom footprint that matches the specifications of your chosen connector.
Once you’ve placed your component on the schematic, define its pins correctly. Make sure each pin corresponds accurately to its intended function—this ensures proper connectivity later on.
Proceed to route connections between components within your design. Use appropriate trace widths based on current requirements and signal integrity considerations.
After routing is complete, switch over to PCB layout mode. Here you’ll position your right-angle BNC connector precisely where it needs to go for optimal performance and accessibility in your electronic project.
Tips and Tricks for a Successful Design
When designing how to right angle bnc kicad connector, attention to detail is key. Start by understanding the specifications of your chosen BNC component. Accurate dimensions ensure a proper fit on your board.
Utilize layers effectively. Use different layers for traces and pads to simplify adjustments later on. This separation can save you time when modifications are necessary.
Don’t forget about clearance rules. Ensure there’s enough space around the connector to avoid interference with other components or traces.
Consider using design rule checks (DRC) frequently throughout your process. These checks help catch potential issues before they become problematic down the line.
Additionally, keep a close eye on trace width and length requirements based on your signal type. Correct sizing can prevent performance degradation due to signal loss or reflections.
Documenting each step makes future revisions easier and assists others who may work with your design later on.
Common Mistakes to Avoid in BNC Connector Design
When designing how to right angle bnc kicad connector , it’s easy to overlook crucial details. One common mistake is neglecting the footprint dimensions. Always double-check the specifications against your design to ensure a perfect fit.
Another pitfall is improper pad placement. Make sure your pads align with the actual pin configuration of the BNC connector. Misalignment can lead to soldering issues and unreliable connections.
Ignoring clearance requirements is another error that can cause headaches down the line. Ensure there’s enough distance between traces and components for optimal signal integrity.
It’s also important not to skip testing your design before production. Simulation tools within KiCad can help identify potential problems early, saving time and resources later on.
Don’t forget about grounding considerations; proper grounding helps minimize noise interference in high-frequency applications associated with BNC connectors.
Troubleshooting and Debugging Techniques
When designing how to right angle bnc kicad, issues might arise that can hinder your project. Identifying these problems early is crucial.
Start by verifying the pin configurations. Ensure they align with your schematic. A simple oversight here can lead to major headaches down the line.
Next, check for clearance between components. If parts are too close together, you may run into short-circuiting or soldering complications during assembly.
Utilize KiCad’s simulation tools whenever possible. They can help identify electrical issues before physical prototyping begins.
Engage with community forums if you’re stuck. Other designers often have faced similar challenges and can provide valuable insights or solutions to expedite your debugging process.
Conclusion: The Importance of Properly Designed BNC Connectors for Electronic Projects
Properly designed BNC connectors play a crucial role in the functionality and reliability of electronic projects. They ensure secure connections, reduce signal loss, and enhance overall performance. A well-executed design can prevent common issues such as interference or poor connectivity.
When working with how to right angle bnc kicad connectors, attention to detail is paramount. Following best practices during the design phase helps avoid potential pitfalls that could lead to project setbacks. With an understanding of how these components work and their significance, you’re better equipped to integrate them into your designs effectively.
Investing time in learning how to right angle bnc kicad not only boosts your skills but also elevates the quality of your projects. The importance of proper connector design cannot be overstated—it’s foundational for achieving optimal results in any electronic endeavor. Embrace the process and watch your projects thrive with expertly crafted connections.


Leave a comment